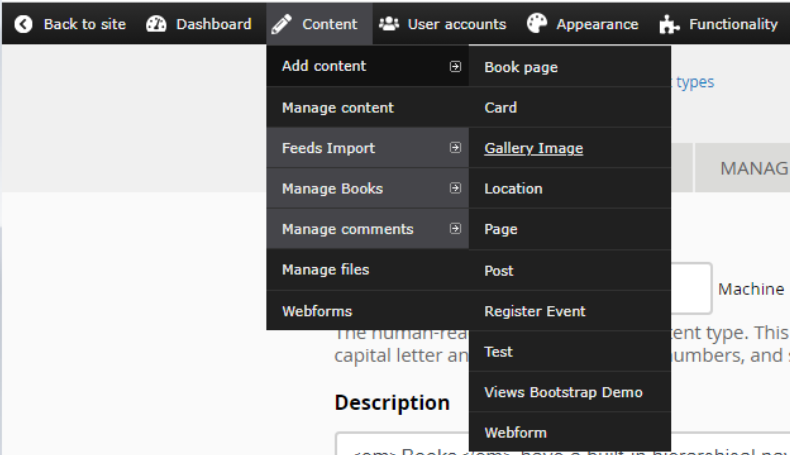
From Admin menu (you need edit permissions):

- Click the Content link from the Admin Menu
- Click the Add Content item
- Click the Gallery Image sub-menu item
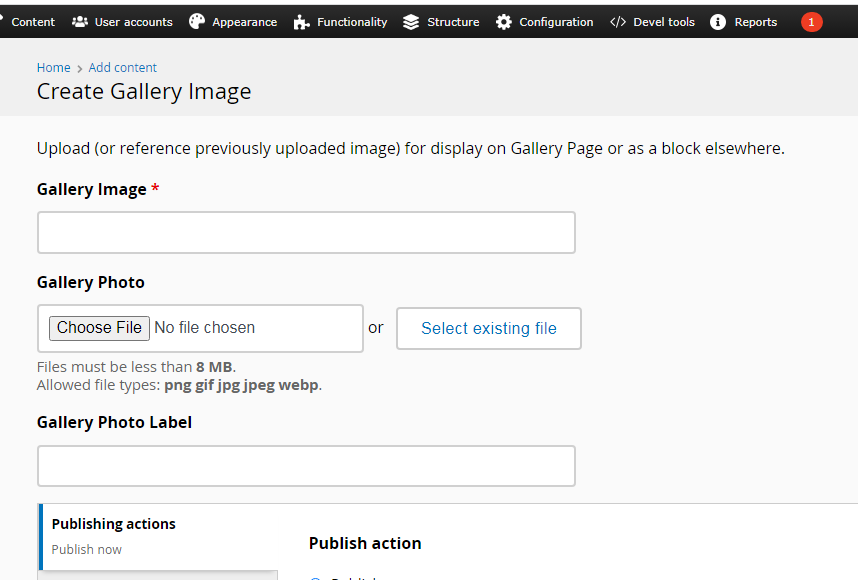
You should now be on the Create Gallery Image page.

The first thing to do is to add a photo. You can upload a photo or any other image by clicking the Choose File button and select a photo from your computer (on a phone, it may have you take a picture to upload). Once a photo has been uploaded, it can be selected in the future by clicking the Select existing file button.
Ideally, the filename of the photo clearly identifies it well enough to find it in a list of content from the Content | Manage content tab. Either use that filename or some other meaningful name to the Gallery Image and, optionally, the Gallery Photo Label text fields.
There is a field Weight which controls the order that the photos are displayed and takes a value from 100 to -100. The higher the number, the earlier the photo will appear. The default value is zero.
Finally, when finished, go to the bottom of the page and click the Save button.
